Showing posts with label Wood Crafts. Show all posts

Monday, February 14, 2011

Chalkboard Scoreboard


The boyfriend and I like to keep score with everything that we do.

(Games, proving the other person wrong, bets ... basically everything.)


Now, usually when I earn a point, I just draw an imaginary tally mark in the air with my finger. However, I tend to score quite a bit of points and lose count :)

I decided to make a little scoreboard as a cute little joke.


I bought this little piece of wood for like a dollar.


I painted the edges red and then painted the front side with 2 coats of chalkboard paint.


After painting, I rubbed chalk all over the board. I read somewhere that you are suppose to do that before using it. I don't really know if its true or not... but I did it.


I super glued two pieces of ribbon to the back of the board. I then glued a piece of card stock to cover the back and hid my messy painting skills.


I tied it at the top to hang up.


Using my Cricut and SCAL, I typed up both of our names and 2 lines.

I cut them out on white contact paper.


Then I placed them on the board.


Here's what it looks like hanging up. I'm winning of course :)


I think he will like it, until he realizes how much I better I am than him.

Haha, I kid, I kid! :)

All Thingz Related

Friday, February 11, 2011

XOXO Valentine Blocks

If you follow my blog, I'm sure you have seen similar blocks before.
Here is my set of Teacher Name Blocks and here are my Joy Blocks.
These blocks have been on clearance for some time at Hobby Lobby. They were originally priced at $1.99 and were marked down to $0.26. As time went on, it was pretty slim-pickins. Last time I was there, I noticed that there were a bunch of Xs left. I thought to myself, what would people use Xs for? Then it hit me!--Valentine's Day for XOXO :)
I started by painting the blocks brown.


Then I cut and mod podged some scrapbook paper to the letters and to the sides of the blocks.


I cut out and layered some hearts to add to the top.

To hold the heard, I used pink and red paperclips. I simply straightened them out and then wrapped them around a pencil to give them that twirl effect.


Again, I live with my parents, so needless to say I don't have very much space to decorate.
I like to decorate the top of this little bookcase.

If you missed my Valentine's Subway Tile or
Paint Chip Heart Garland, feel free to check them out.


Linked to...

Trendy Treehouse
My Romantic Home
The Shabby Nest


Tuesday, December 14, 2010

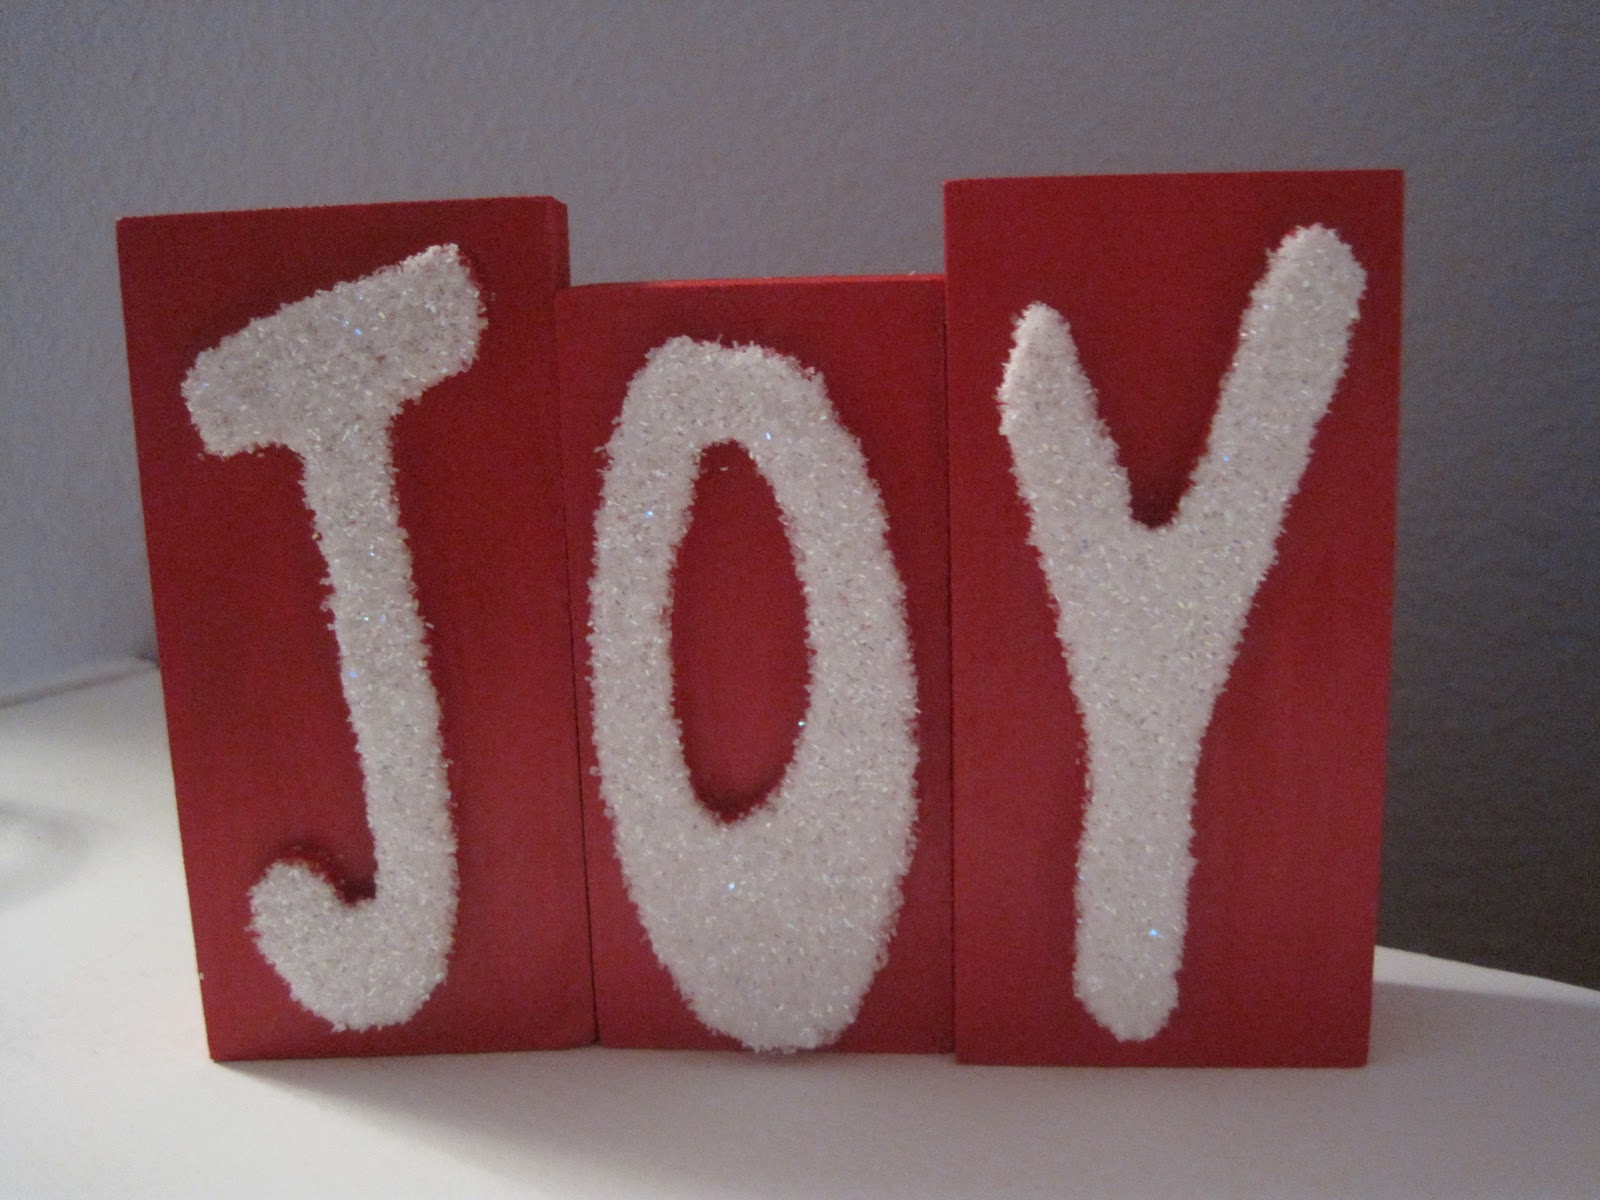
Joy Blocks

Hello!  I am still working on several projects at once.  Maybe someday I will learn to finish one before I start the next.


Here is one project I actually finished.  (At 6:10 this morning, before school!)


Here's what I did:


I found these wood blocks with letters at Hobby Lobby.  They were in the clearance isle, of course!


 The first thing I did was paint them red.

Then, using a paint brush I applied glue to the letters.  I added glitter.


This is what it looked like, and I wasn't loving it.  
I could still see the red paint below and it wasn't popping how I wanted it to.


I waited until it dried and added another layer of glue and glitter.  It still wasn't up to par, so a third coat finally did the trick.


Here's the final product.  I love the simplicity of it.


This photo doesn't do it justice.  In real life, it catches the light just right and glimmers! :)


Thursday, December 2, 2010

Wooden Ornaments

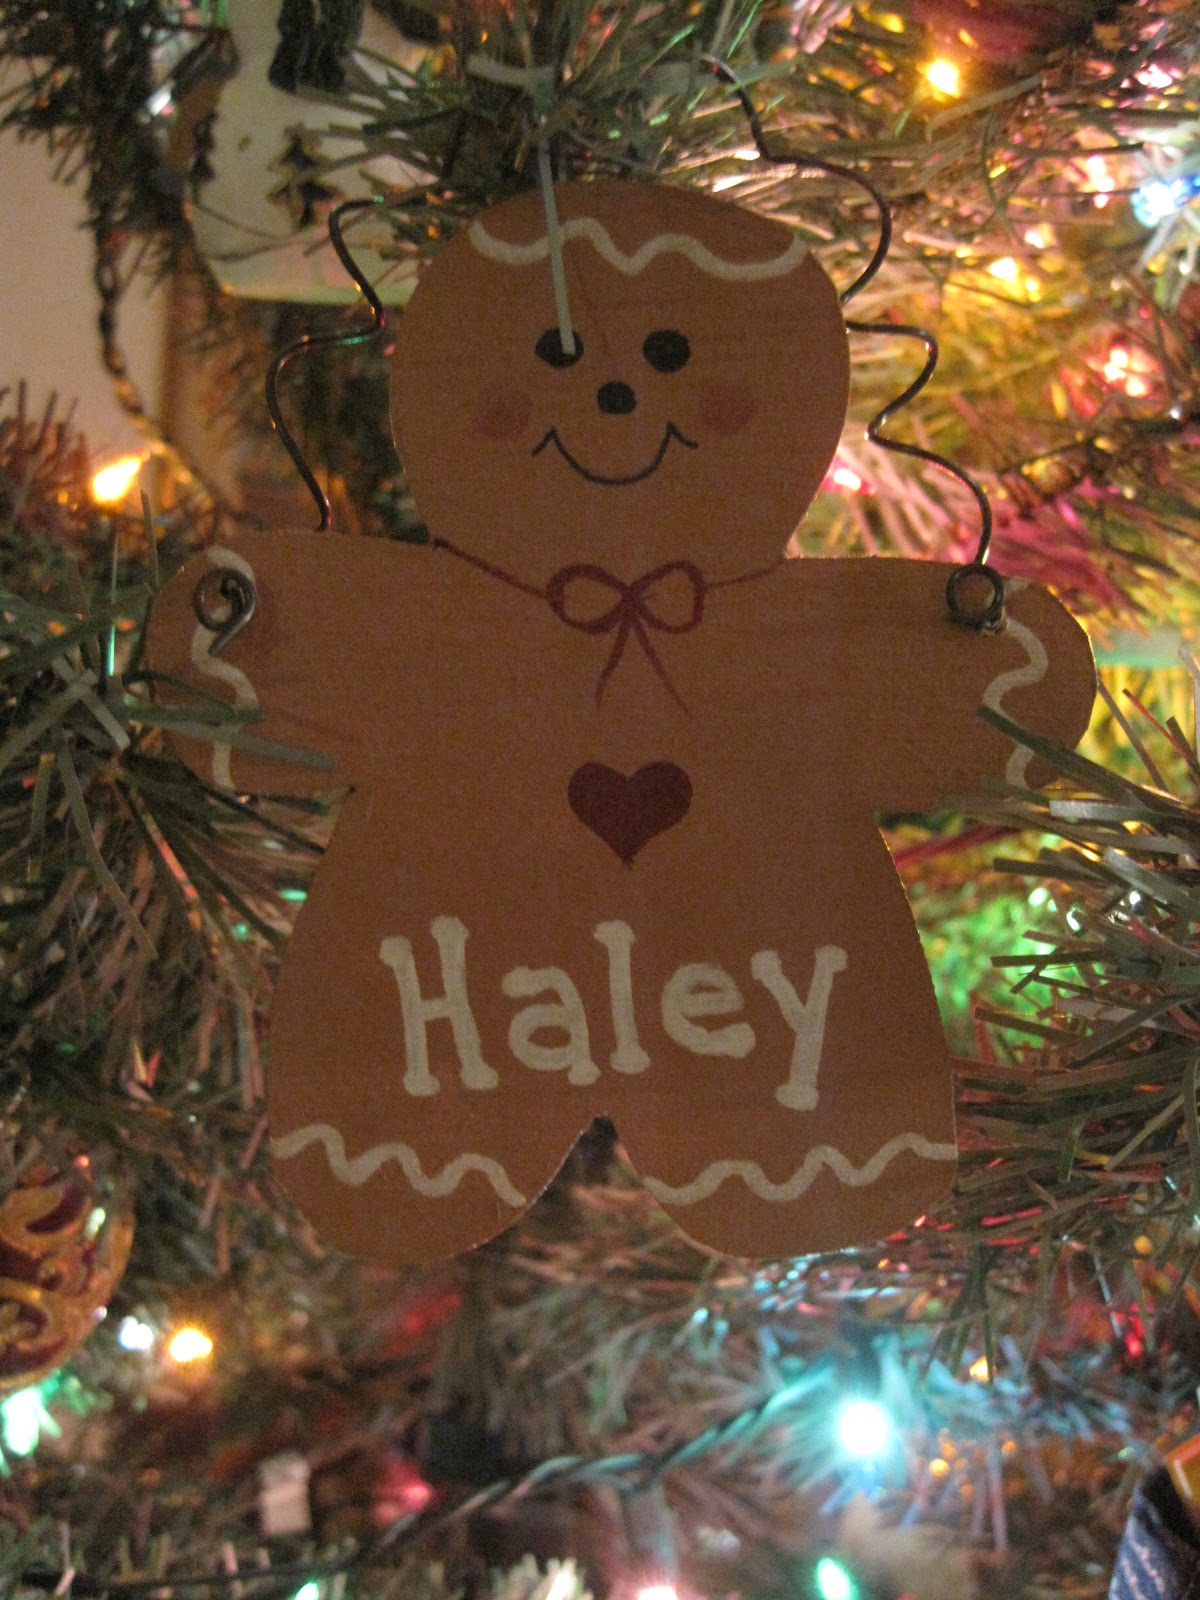
Our tree is up along with the other decorations in the house.  I thought I would share a few ornaments.  These were made by my mom's friend, not me.  They are wooden, hand painted, and have a wire attached to the top for hanging.  I cannot paint anything but a flat surface with one solid color---no detail, no design, no shapes, no nothing.  She, on the other hand, is much better at this than I am.


Snowman:


Gingerbread Man:


Reindeer:


Thanks for stopping by!

I have my first followers!!!  My goal was 5 by Christmas and I have 3 now!!! :)
My life is now complete!
(Okay, so not really, but I am pretty excited about it!)

Wednesday, December 1, 2010

Teacher Name Blocks

I found these wooden block letters at Hobby Lobby in the clearance isle.  They were only $0.23 each!!  SCORE!!  They were just plain wooden blocks with letters on the front.  I painted them white and glued scrapbook paper to the front.  Nothing too difficult, I want to keep them simple because some of the paper is busy.  I have them at school sitting on my desk.


Excuse the ugly background on these photos.  I set my blocks at a study carrel to take the photos.  My desk was messy and I was embarrassed to show anyone. 

 Organizational Freak, but Messy As Hell!! :)

Tuesday, November 30, 2010

Cheer Frames


I made these picture frames for my cheerleaders.  I simply painted $1.00 frames from Michael's.  I added each girl's name, pom-poms and megaphones (cut on my cricut).  Slapped some Mod Podge on it and added ribbon and buttons.


These bags were on clearance, like $0.16 or somthing crazy. 
I used iron on stuff to add a megaphone to the front of each bag.
These were for their last game, so I stuck in their frame,
some snacks, and a bottle of water.

Related Posts Plugin for WordPress, Blogger...