Tuesday, November 30, 2010

Cheer Frames


I made these picture frames for my cheerleaders.  I simply painted $1.00 frames from Michael's.  I added each girl's name, pom-poms and megaphones (cut on my cricut).  Slapped some Mod Podge on it and added ribbon and buttons.


These bags were on clearance, like $0.16 or somthing crazy. 
I used iron on stuff to add a megaphone to the front of each bag.
These were for their last game, so I stuck in their frame,
some snacks, and a bottle of water.


Sticker Organization


I used to keep my stickers in a 12 x 12 plastic drawer storage thing.  I had them separated into 3 categories:  alphabet, holiday/occasion, and miscellaneous.

This organizational system didn't work for me.  The drawers were so full that whenever I needed something, I ended up dumping the entire drawer trying to find it.  Which resulted in me shoving things back in, wrinkled and folded stickers, really just a mess.  I am organized, but messy!

I decided to buy a couple 3 inch binders and try out this method.  I still need to create labels for the outside of the binders, I just haven't gotten that far yet.


I created my own tab dividers and used my cricut pens to label each of them.  They are hard to read in this photo, but easy to read in person.


The categories I used were:

Winter/Christmas
Halloween
Valentine's Day
Spring/Easter
Thanksgiving/Fall
Independence Day
Wedding/Love
Birthday
Summer/Beach
Baby/Kids
Alphabet/Numbers
Holiday Alphabet
Words/Phrases
Pets/Animals
Sports
Food/Drinks
Girly
School
Miscellaneous


 I used double sided tape to tape sticker packages to sheets of white printer paper.  I got this printer paper for $0.01 at Staples!!!  A whole ream for a penny!  Seriously, I love Staples!

I then slid the papers into clear page protectors.  These can be really expensive, but I found them at a local emporium for $1.00 per pkg.  I put two sheets of paper in each page protector (one facing each way).


They are a little bulky and full, but they are so easy to use.  I slide the sheet of paper out, use the stickers I need, and slide the sheet back in.

Someday when I have a larger space, they will have a nice shelf to sit on.  Right now, they sit on my work space and I move them when I need the extra space.

Christmas Ornaments

Here are some ornaments I have made for Christmas this year.  I still have some more to make.  I'll add those as I get them finished.  All I did was buy large plain ornaments from Hobby Lobby and cut vinyl using my Cricut.  I added ribbon to some for embellishment.


This one is for my boyfriend's sister-in-law.  She loves to shop and will love this.  I did this ornament with two sides, so she can hang it with her favorite side showing.


These are simple monogramed ornaments.  Great for friends, family, or co-workers.


This one is for my boyfriend's brother.


This one is for my boyfriend's nephew, Tyson.  This is his first Christmas, so he'll need an ornament to remember it by. 


 I found these snowman boxes at Oriental Trading.  They came in pkgs of 12 and were super cheap.  I added a ribbon and a gift tag, nothing to fancy.


Saturday, November 20, 2010

Gift Wrapping Organization (part 1)

Now I know that it's not even Thanksgiving yet, but I have already bought many Christmas gifts.  I did some wrapping the other day and decided that I needed to reorganize my gift wrap supplies.  Originally, I had everything thrown in a tote, but I always had to dig everything out in order to find what I was looking for.  I have one of those tall containers for wrapping paper, so that was no problem.  My issue was boxes, bags, and bows.  Here is what I came up with:


This bag zips up all the way up and has handles.  It is made for all wrapping materials, including paper.  I used it for bags.  I have tons of them.  I always stock up on Christmas ones after the holidays.


The smaller bags are in the little pouches on the bottom.


 The left side is where the wrapping paper is intended to go.  I put my larger bags on this side and used the strap to hold them in place.  The right side has 3 pockets that work well for the middle size bags.


Here is my solution for my boxes and tissue paper.


 The inside


The front left portion is for my smallest size of boxes. 


The front left side is for my tissue paper.  Of course, its is ordered by color.  I very rarely buy tissue paper.  I reuse it when gifts are given to me.  The key is to iron it!  It's as good an new.  When I do buy tissue paper, I got to the Dollar Tree, you can get a variety of sheets (30 in a pkg) for $1.00!


The back section is for my medium and large boxes.


Pretty simple and nothing too special, buts its so much more functional for me.

Here's my only problem.  My ribbon, bows, scissors, and tape are all just in a shoe box.  Any ideas or suggestions on that one?


Linked to:
IHeart Organizing

Scrapbook Area 1

I wanted to share my scrapbook area with you.  I am currently living back home, so this space is very limited.  My space is located in a little nook at the top of our stairs.  I have been reorganizing this area, so I will share it with you as I get it back in order.

Here is one of my many drawer organizers:

Glue and Tape Drawer


Cutting Tools Drawer


Ribbon Drawer
(This one needs some help.  Anybody have any good ideas on how to organize ribbon.  I don't want it out on rods, thats the only other way I have seen to organize it.)

Thursday, November 18, 2010

Water Bottles

I coach middle school cheerleaders and I wanted to make my girls a little something.

I knew I wanted to make water bottles with names so that drinks wouldn't be getting mixed up.  I searched everywhere for bottles that were cheap.  The Dollar Tree (like always) is were I found my answer.  I purchased these little beauties for $1.00 each!  Using my Cricut, I cut out vinyl letter and polka-dots.  (What middle school girl doesn't love polka dots?)


The only bad thing about these water bottles from Dollar Tree was that they didn't have enough of them.  I waited and waited for them to restock, but they never did.  I started to look for other water bottles, but then ran into the same problem--they are way too expensive for me and my thrifty ways!  Finally, one day while checking the clearance endcaps at target, I found these water bottles marked down to $0.48!!!  So of course, I bought all they had and went to work finishing out this project.


The girls loved them and it was super cheap and easy :)

Hello Blog World

I am new to blogging and I thought I would give it a try.  Here are 10 things about me:

1.  I love to scrapbook, but have issues finding time to sit down and do it.  Once I start, its hard for me to stop.

2.  I organize everything.  Literally!  Last night I spent a few hours ironing tissue paper and organizing my gift wrapping supplies.

3.  Speaking of gifts, I love to give gifts.  I enjoy the look on people faces when they open up something you purchased or made just for them.

4.  I believe highly in retail therapy.  I am a bargain hunter and very rarely will buy something that is not on sale.  I live for clearance isles.  Some nights I dream about those little clearance stickers.

5.  I am messy.  I am a very clean person, but in the process of projects and reorganization I make huge messes.

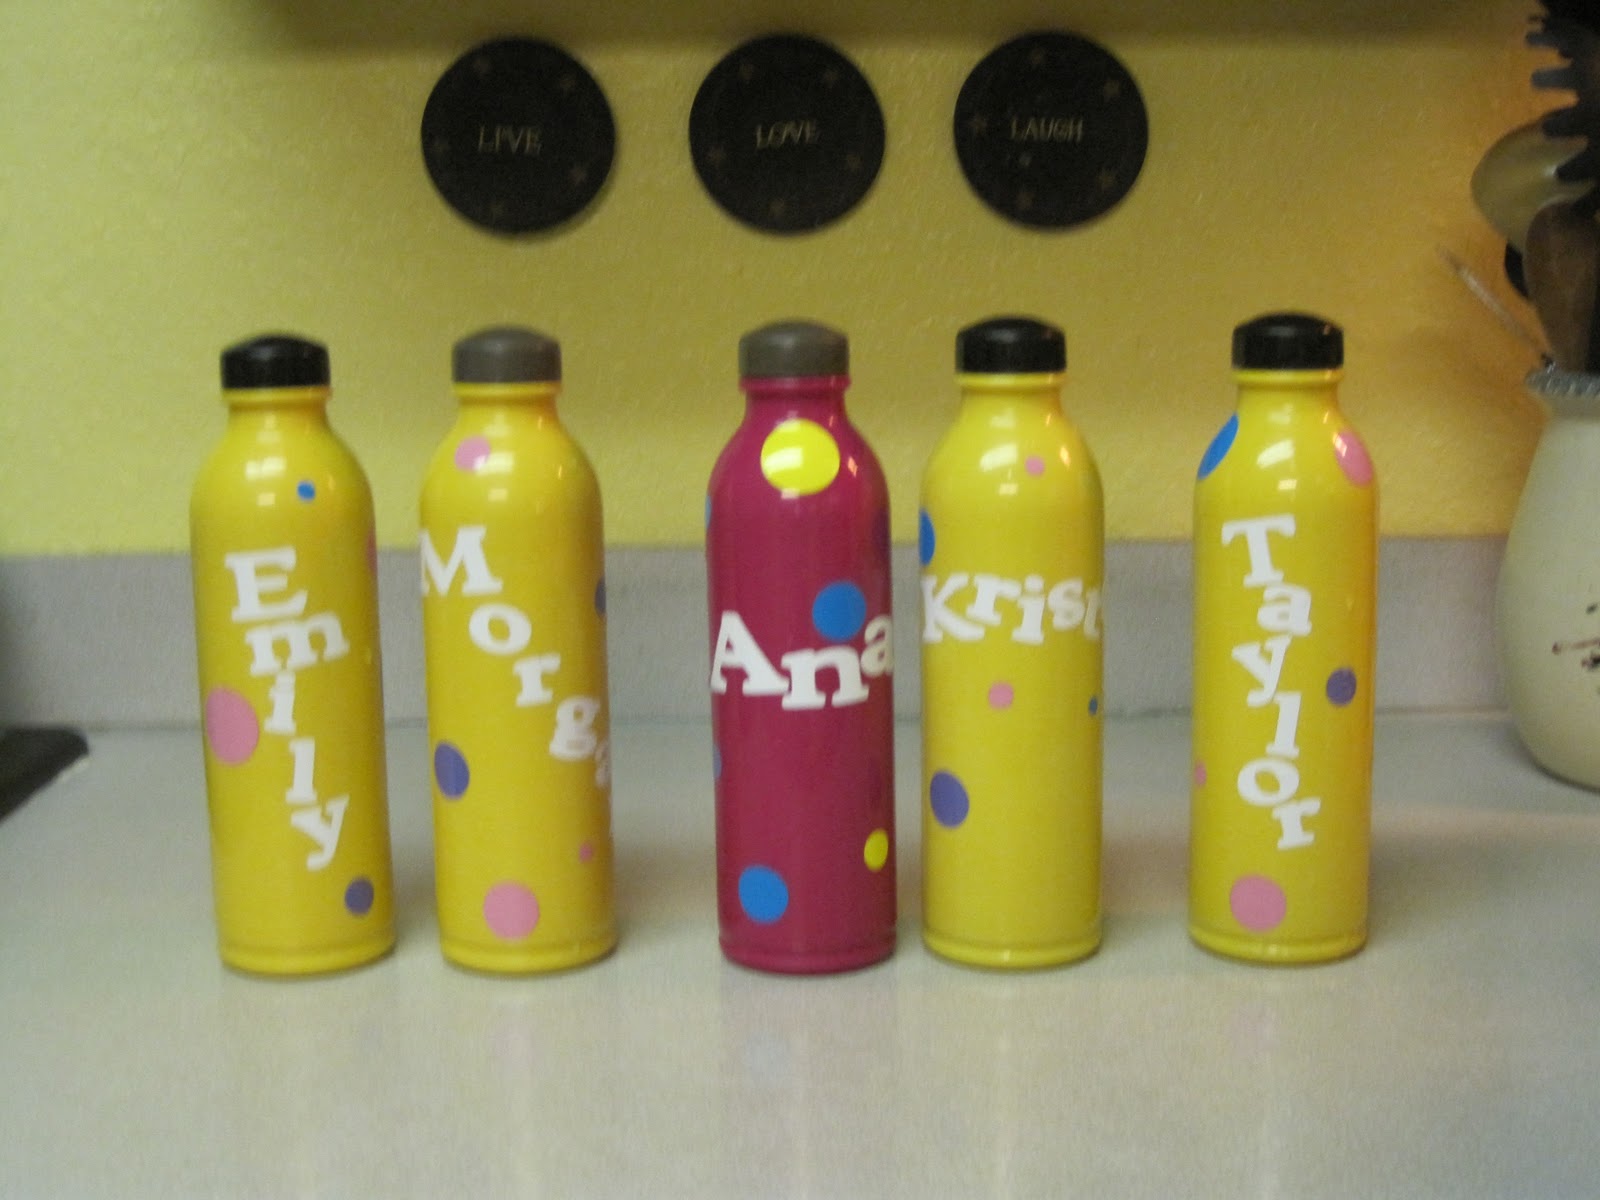
6.  My Cricut and I have a love-hate relationship.  I love it dearly, but hate that I don't know how to do half of the cool things it can do.  I see people blogging about what they do with their Cricut--total envy.  I need somebody to come and teach me everything they know.  I recently have experimented with vinyl!  That only took me a year to try.

7.  I don't know anything about blogging.  I googled to find help with my Cricut, and found one blog.  I read the entire blog that day.  I found more and more and more...  I love reading them, so I figured why not create my own.

8.  I create "to do lists" weekly.  I always have so much stuff I want to get done and never enough time to do it in.

9.  Someday I will have an entire room dedicated to crafts/scrapbooking/mess-making.  I am currently living back at home with my parents.  I have student loans galore and the bf is still in college, so I am saving money by mooching off the 'rents.  You're jealous right??  23 years old and living at home, oh yes.

10.  I really thought I could come up with 10 things about myself.  But I am blanking here on this last one.  My goal by Christmas is to at least have 5 people follow my blog.  We will see, I am not holding my breath on that one.  Again, I have no idea what I am doing :)
Related Posts Plugin for WordPress, Blogger...